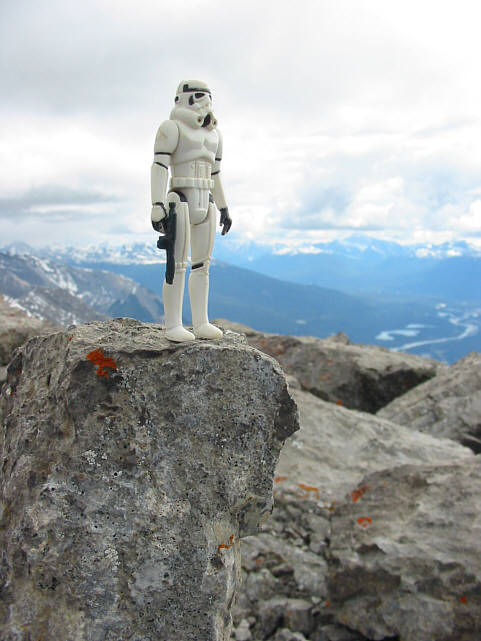
 |
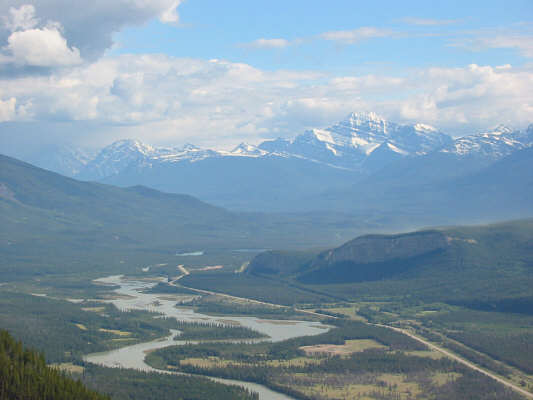
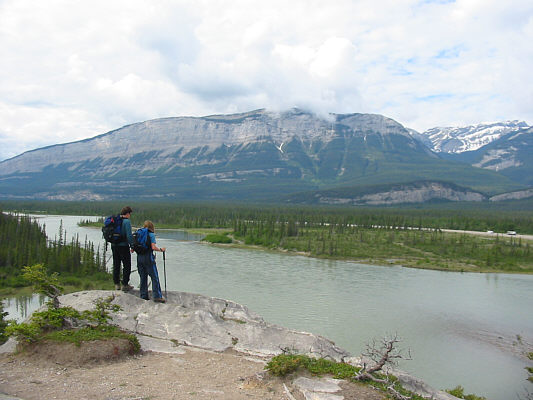
Chris and Kelly check out one of the
popular rock climbing spots near the trail head. The Palisade
dominates the view across the Athabaska River. |
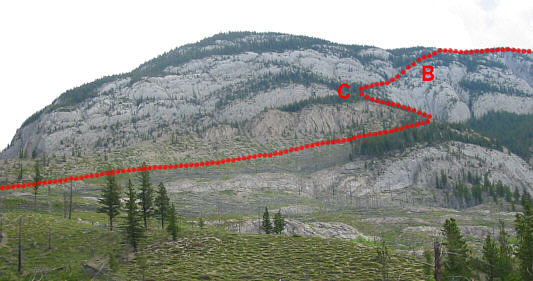 |
The scramble route for the lower half
of Hawk Mountain is shown. The letter C marks the location of
the chimney. |
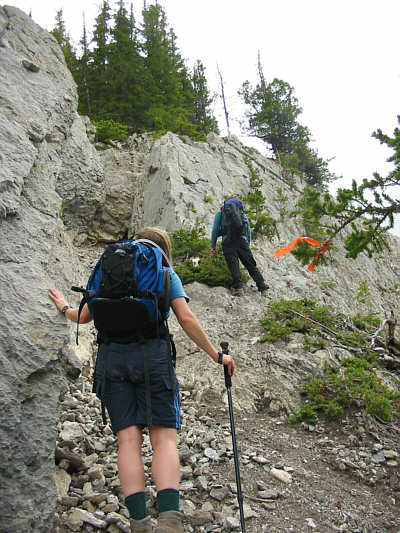 |
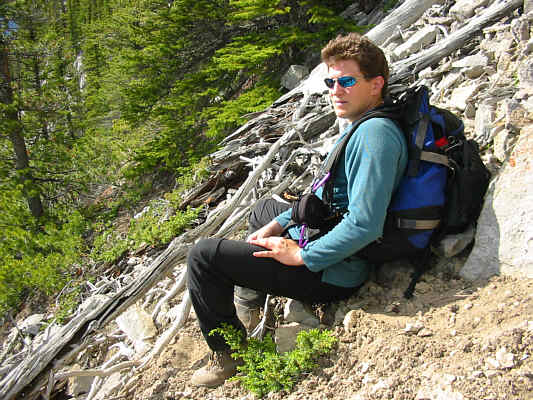
Kelly waits as Chris surveys the
ledges to the right of the chimney. |
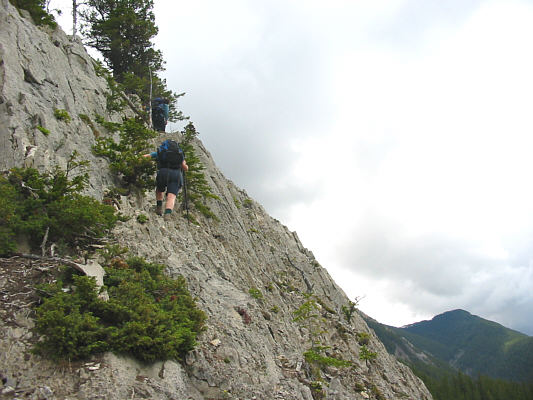 |
Chris and Kelly begin ascending the
airy ledges. Kelly would turn around here. |
 |
Chris ascends the steep terrain above
the crux chimney. |
 |
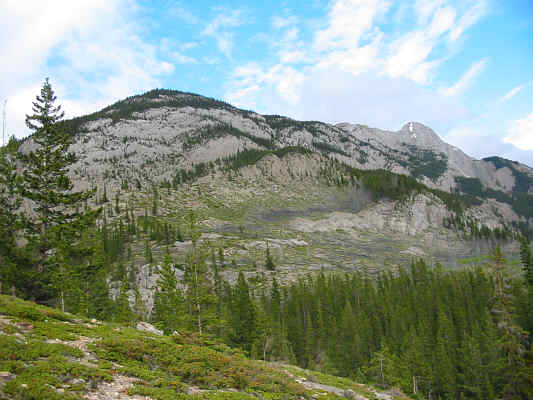
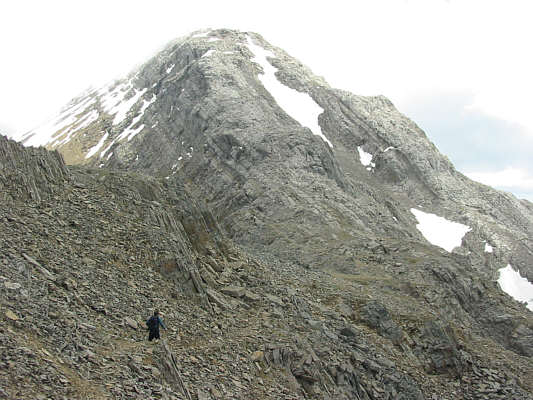
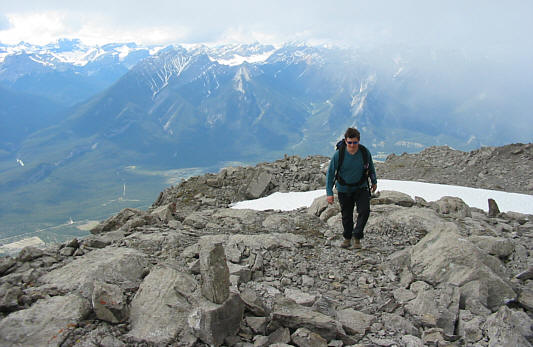
Hawk Mountain's summit is still a long ways off from this vantage point. |
 |
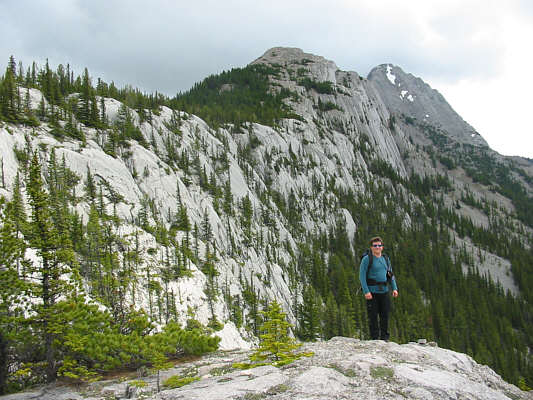
Along the ridge, there are numerous
false summits such as this one. |
 |
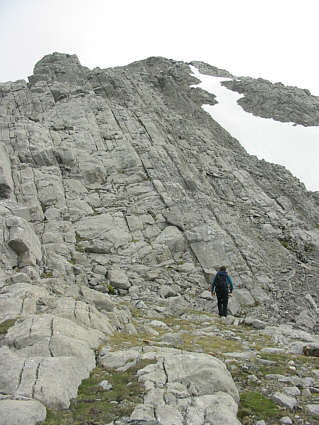
This is the main summit block
of Hawk Mountain. |
 |
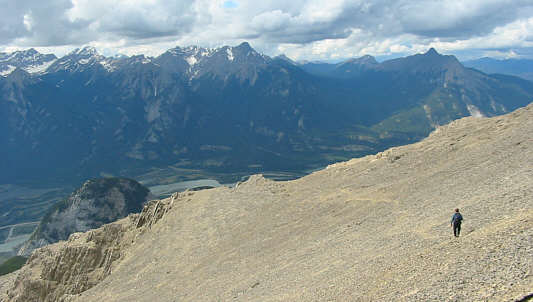
This section provides the most
enjoyable scrambling of the day with lots of possible route
variations. |
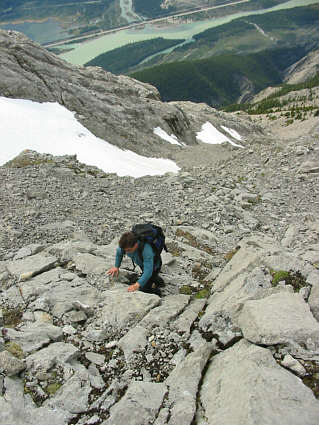 |
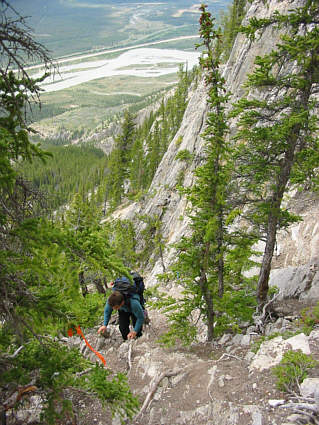
Chris works his way up the slabs.
The Athabaska River is visible far below. |
 |
Chris takes the last few steps to the
summit. |
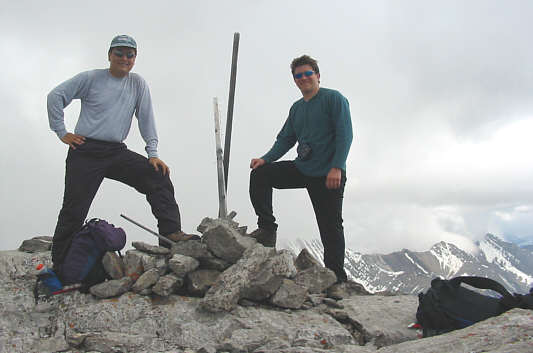 |
Sonny and Chris stand on the
2553-metre summit of Hawk Mountain. |
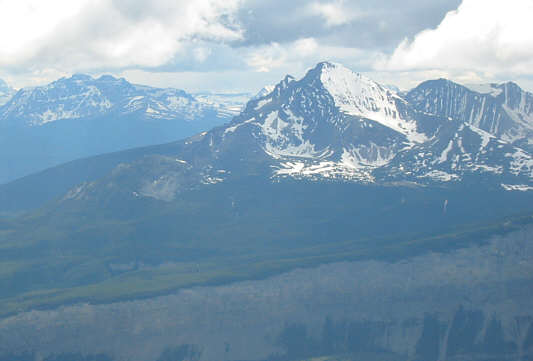 |
This is Pyramid Mountain as seen from
Hawk Mountain's summit. |
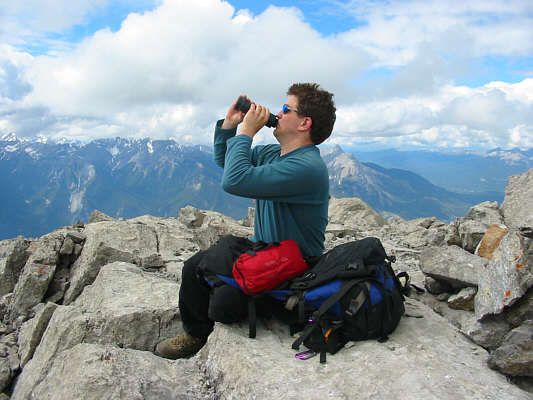 |
Chris tries to suck the residual
moisture from the register canister as he begins to run low on water. |
 |
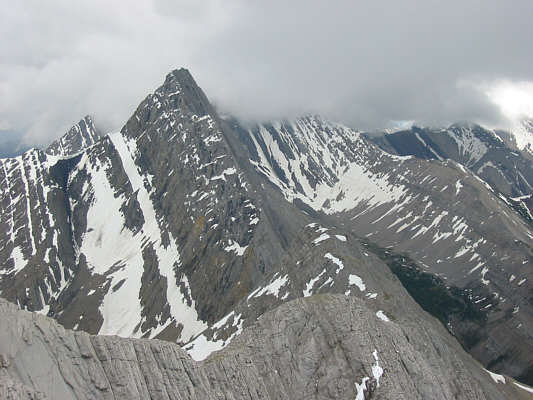
The striking peak to the northwest is
Roche de Smet. |
 |
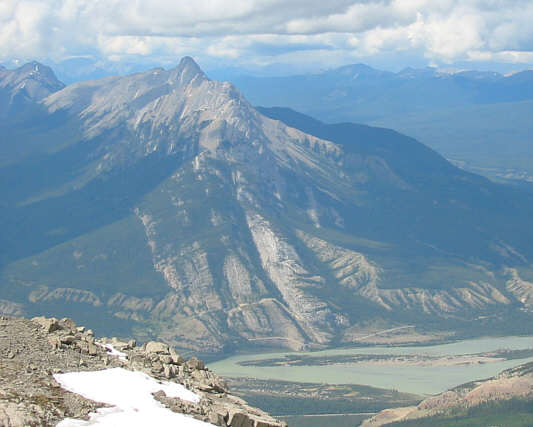
This is Mount Colin with the
connecting ridge from Hawk Mountain visible in the foreground.
The Mount Colin Centennial Hut is somewhere in that patch of trees at
lower right. |
After spending about half an hour at the summit, we began our long
descent back down the ridge. With numerous flagging and cairns
along the route, we had no trouble retracing our steps. We took a
short rest break at the cairn just before the route drops down the west
face from the ridge. As mentioned already, the terrain here is
steep with not a lot of room to manoeuvre. A few minutes after we
began descending this section, Chris turned a corner and suddenly stopped
dead in his tracks. I was a few steps behind him and heard him make
an exclamation of surprise. Then I heard aAt the
crux chimney, we easily descended the exposed ledges that Chris had
ascended earlier in the day and followed a good trail out to the
Overlanders Route. Kelly was getting a little anxious by the time
we rejoined her not far from the trail head. Our round-trip time
ended up being just a little under 10 hours.