
On descent, we stumbled down the slope of tedious treadmill rubble and down-climbed some steep and loose terrain in the broad west-facing drainage. We eventually traversed over to an adjacent drainage where Linda and I had a disagreement about the best route down. While I was keen on continuing down this drainage and then making a beeline through the forest for the trailhead, she was skeptical about how easy my route would be and was inclined to keep traversing back to our original line of ascent. In an effort to be democratic about the situation, I asked Antri to decide which way we should go, but he opted to remain completely neutral (sigh). In the end, my stubbornness won out, and we took my route. I offered to buy Linda dinner if my route sucked, but if my route worked, she agreed to buy me dinner. Facetiously, Linda asked what we would do if my route worked but she still thought it sucked. I dryly replied that Antri would then buy us both dinner! As I led us down to tree line, a miserable bushwhack seemed imminent, and I was beginning to think that Linda may have been right in her skepticism. As luck would have it, a good beaten path appeared right at tree line, and except for a couple ambiguous spots, we had no problems following this path all the way back to the Buller Pass trail. Our round-trip time was just under 9 hours, and Linda made good on our bet later at the Grizzly Paw Brewing Company in Canmore, Alberta.
|
|
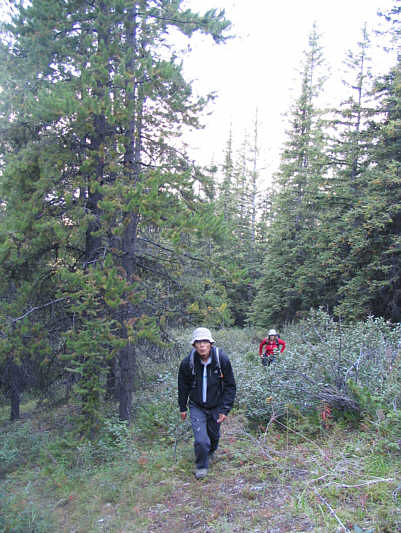
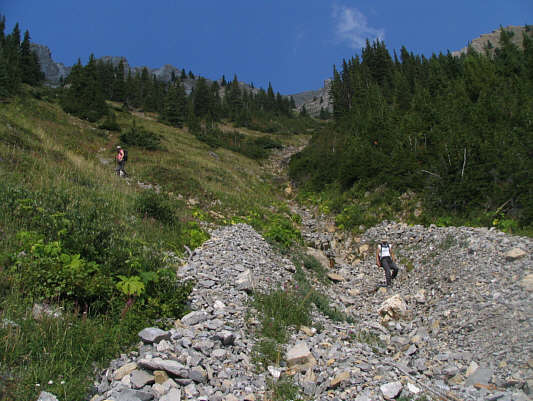
Antri and Linda bushwhack up the steep slope. |
|
|
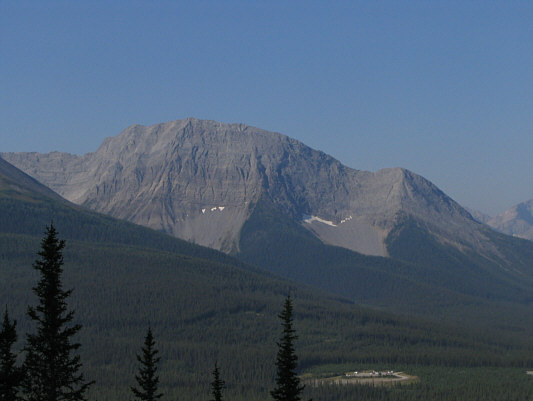
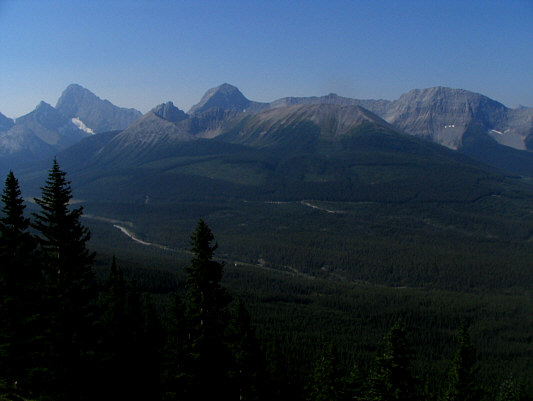
A break in the trees allows this view of Mount Shark. |
|
|
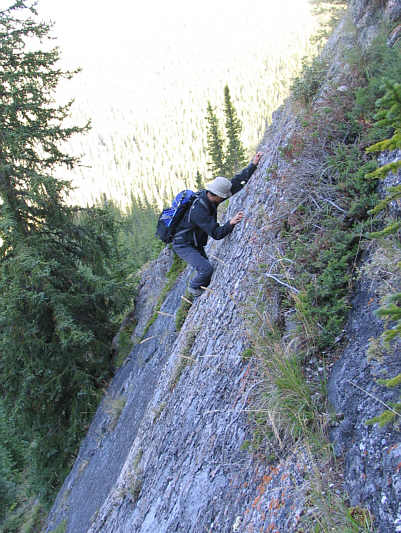
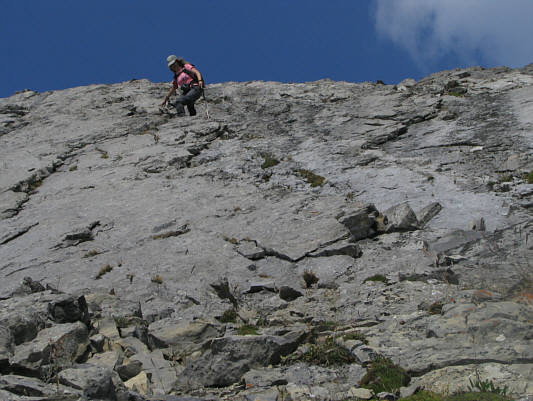
Antri warms up for the ridge by tackling some slabs below tree line. |
|
|
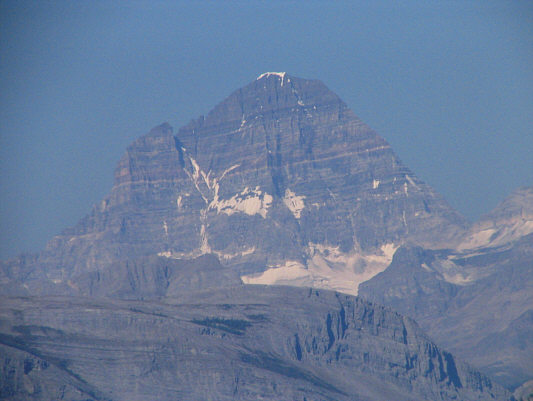
This is the clearest view of Mount Assiniboine on this day. |
|
|
Across the valley are (L to R) Mount Birdwood, The Fist, Mount Smuts, Tent Ridge and Mount Shark. |
|
|
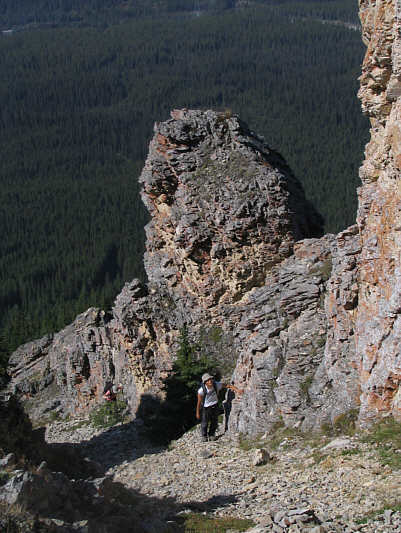
Linda and Antri ascend a loose gully. |
|
|
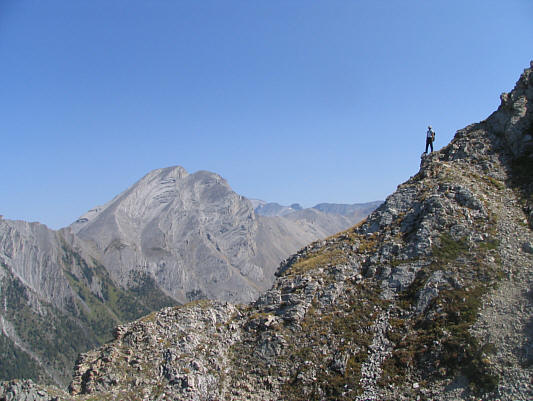
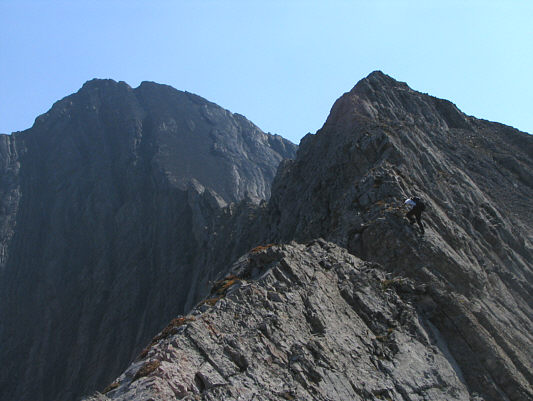
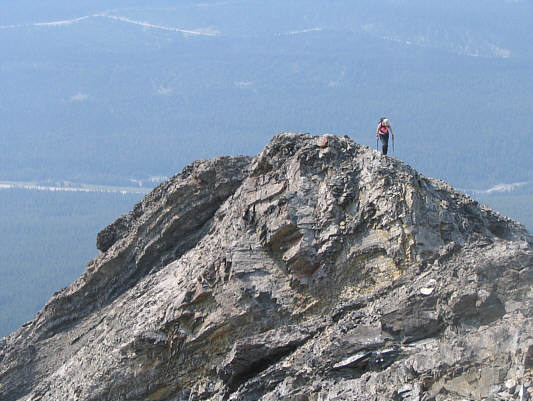
Antri finally gains the ridge crest. Mount Buller is visible in the distance. |
|
|
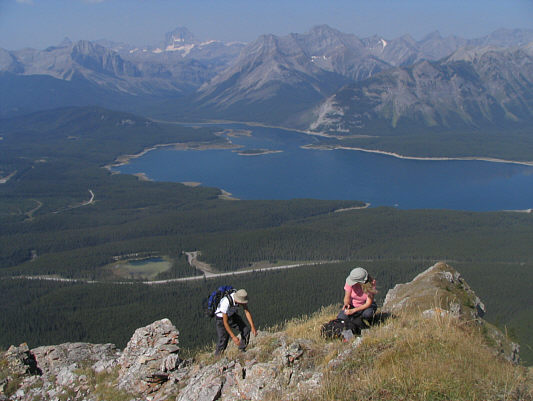
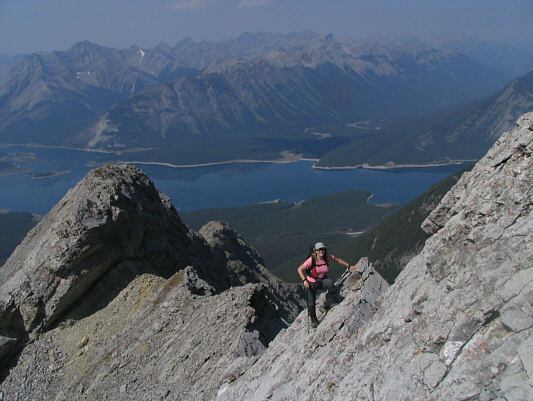
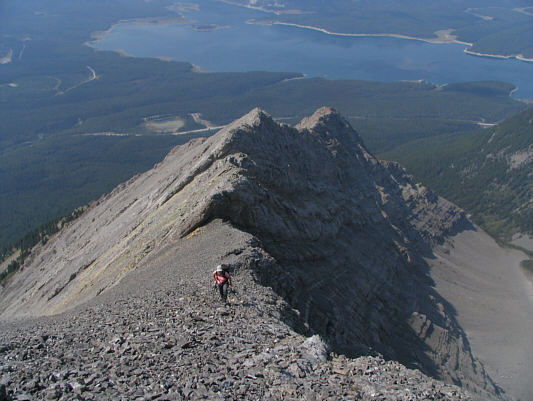
There are nice views of Spray Lakes Reservoir from the ridge. |
|
|
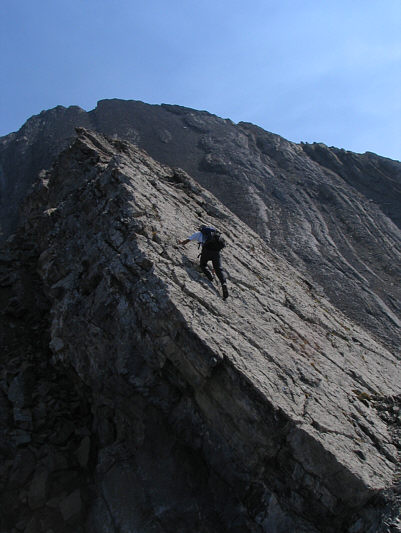
Antri tackles the challenging parts of the ridge with zeal. |
|
|
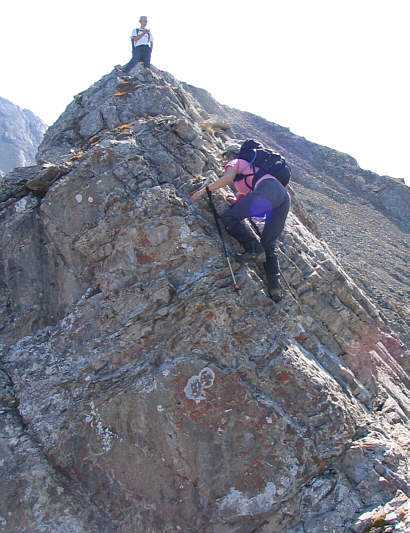
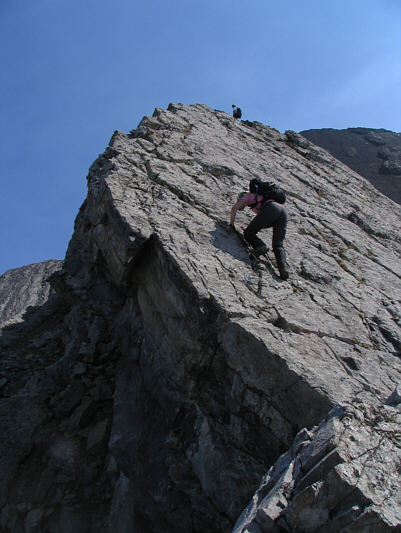
Antri watches as Linda shows off her scrambling prowess. |
|
|
Linda prepares to bypass an overhang along the ridge. |
|
|
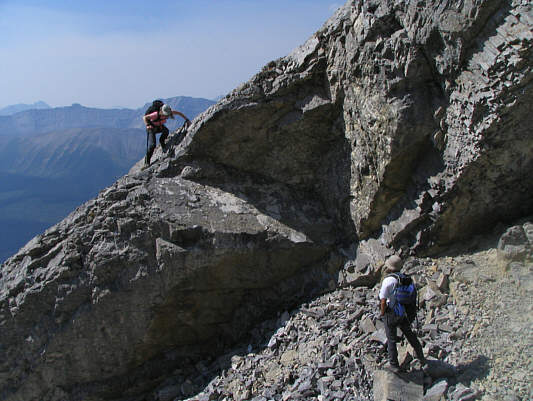
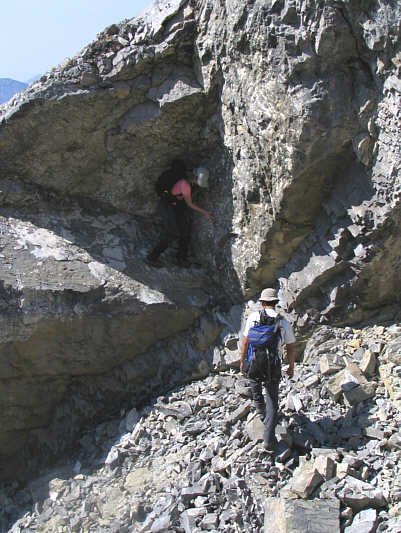
Antri coaches Linda down the last couple of steps. |
|
|
Linda grins as she continues scrambling up the ridge. |
|
|
Antri climbs up more slabs. |
|
|
Linda follows Antri up the slabs. |
|
|
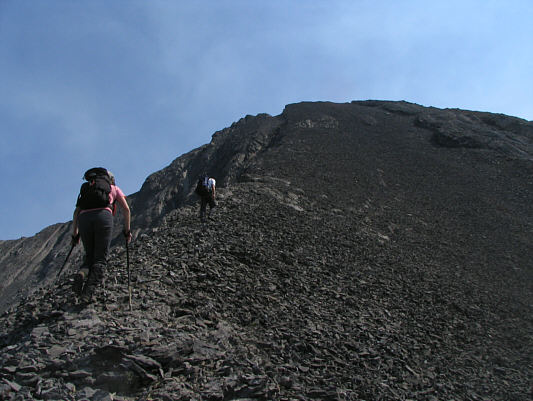
Linda and Antri slog up the final slope. |
|
|
This part of the mountain is not nearly as entertaining as the ridge behind Linda. |
|
|
Linda gains the summit ridge. |
|
|
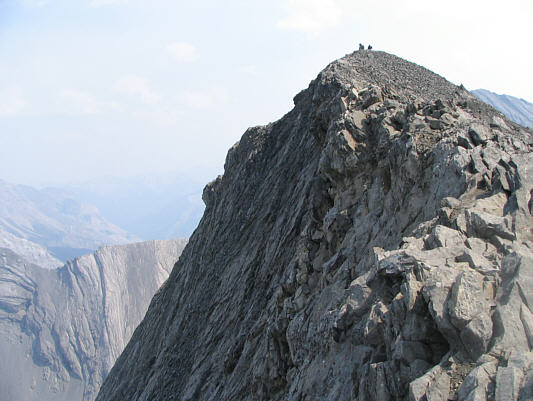
This is looking along the summit ridge toward the top. Antri is sitting beside the summit cairn. |
|
|
Sonny, Linda and Antri stand on the 2970-metre summit of Mount Engadine. |
|
|
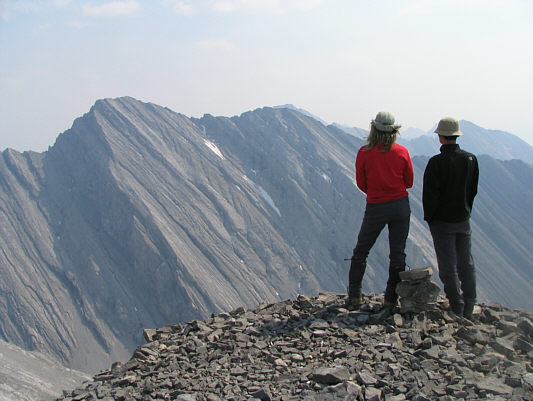
Linda and Antri gaze at the Tower from the summit of Mount Engadine. |
|
|
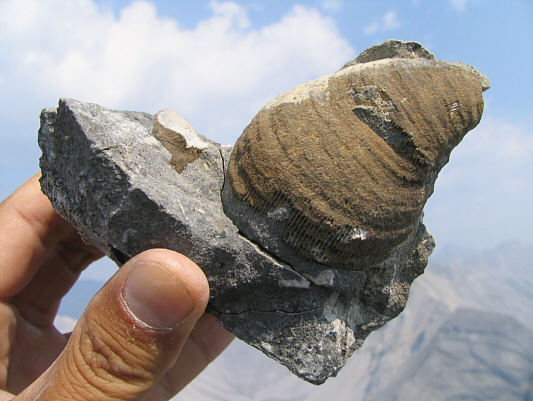
This is one of the many horn corals which can be found around the summit cairn. |
|
|
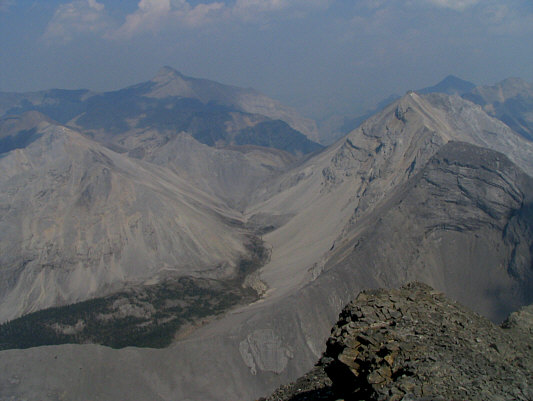
This view to the northeast includes Buller Pass (centre) and Mount Bogart (upper left). |
|
|
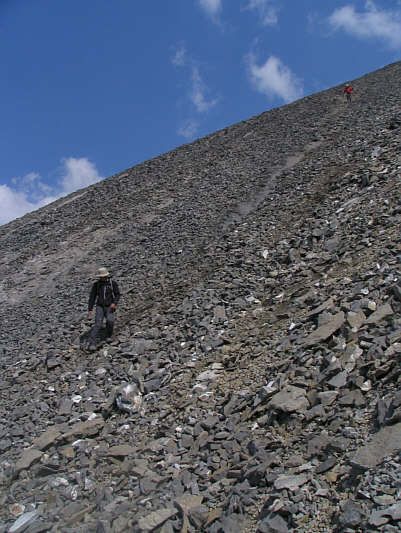
Antri and Linda make their way down the loose rubble. |
|
|
Linda down-climbs some steep slabs in the broad west-facing drainage. |
|
|
This is looking back up at some of the terrain on the west face of Mount Engadine. The summit is at upper right. |
|
|
Linda and Antri descend the drainage adjacent to the west-facing one. |
|
|
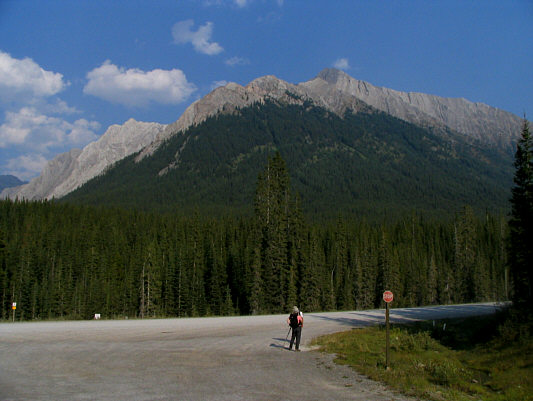
This is looking back at Mount Engadine from the Smith-Dorrien/Spray Trail. |