


I cannot overstate how much I enjoyed this trip. We had ideal weather conditions, no route-finding issues, and jaw-dropping scenery throughout for only a modest amount of effort. Best of all, I had the privilege to share the trail with some great company.
Be sure to also check out Bob's trip
report and Raff's
photos.
|
|
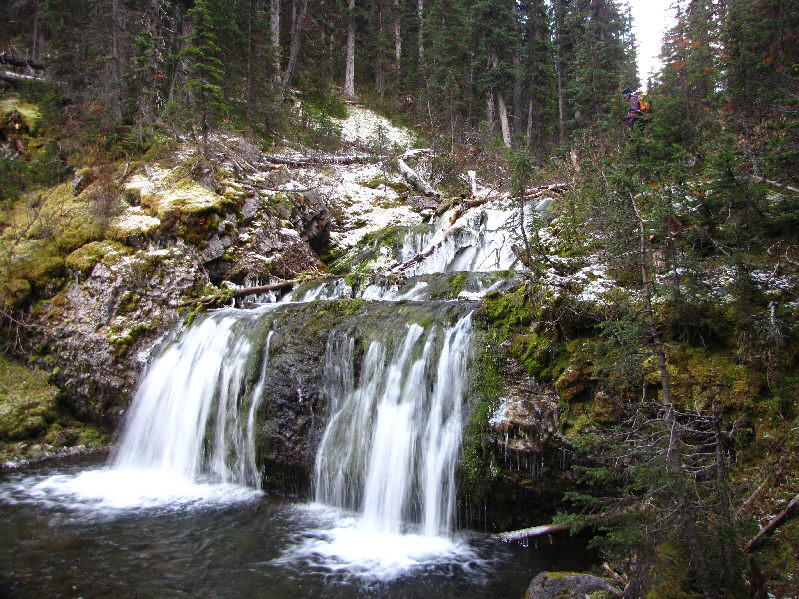
This waterfall is situated near the entrance to Commonwealth Creek valley. |
|
|
Lining the north side of Commonwealth Creek are Mount Smuts and the Fist. |
|
|
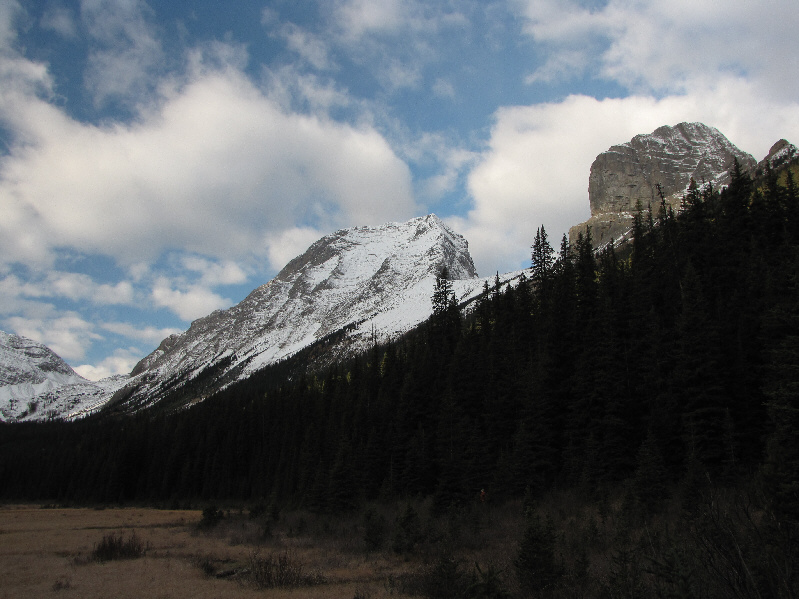
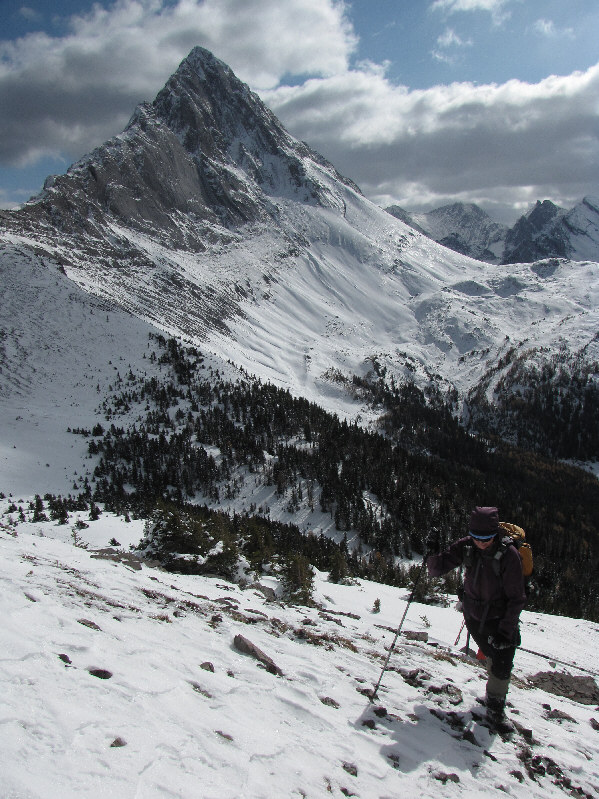
Mount Birdwood dominates much of the scenery along Commonwealth Creek. |
|
|
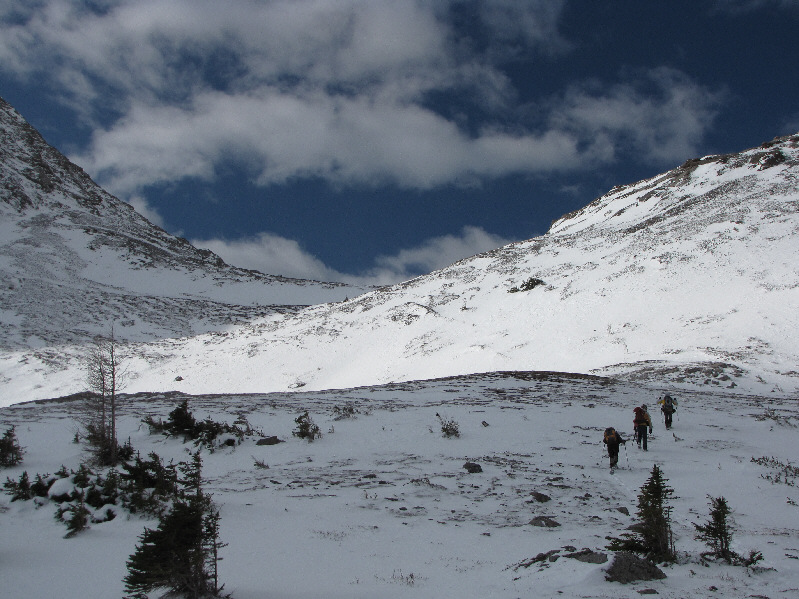
Bob, Raff and Dinah ascend the headwall below Mount Smuts. |
|
|
The group approaches Smuts Pass. |
|
|
The scramble route up Mount Smuts begins in this gully. |
|
|
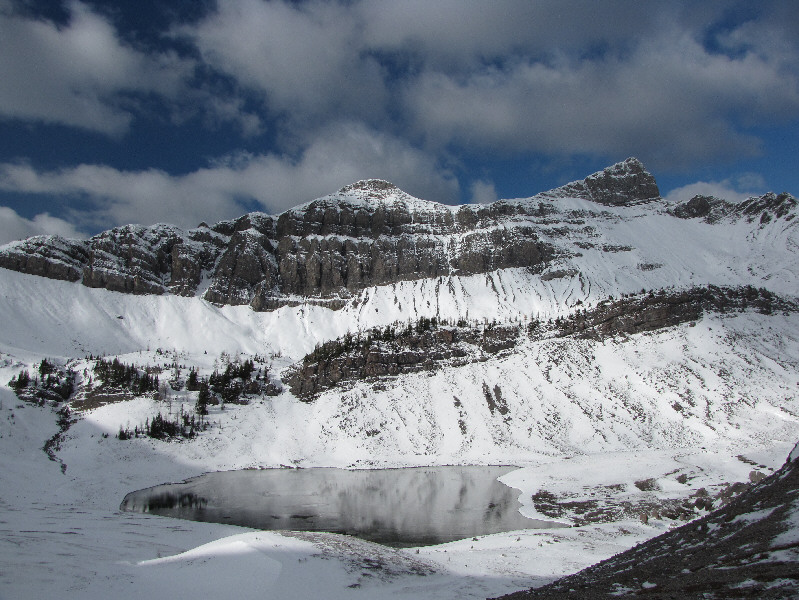
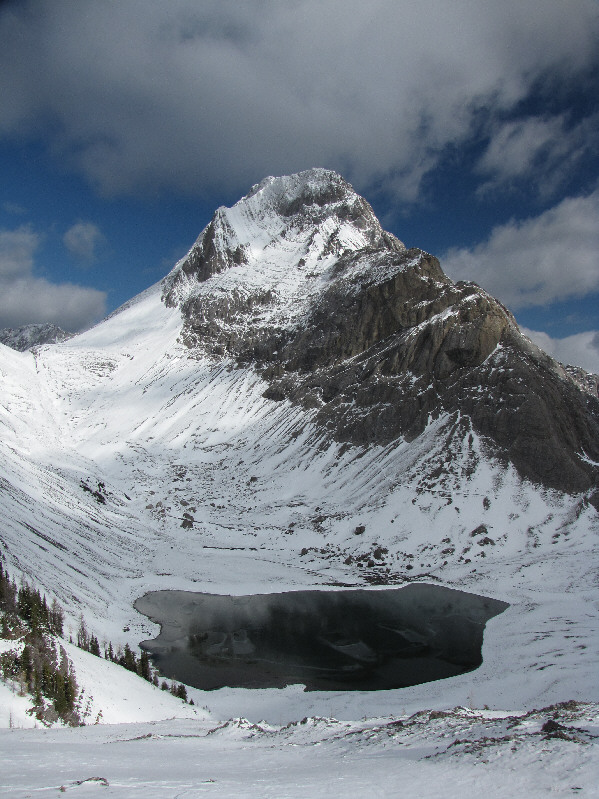
Lower Birdwood Lake sits below Smutwood Peak (right) in this view from Smuts Pass. |
|
|
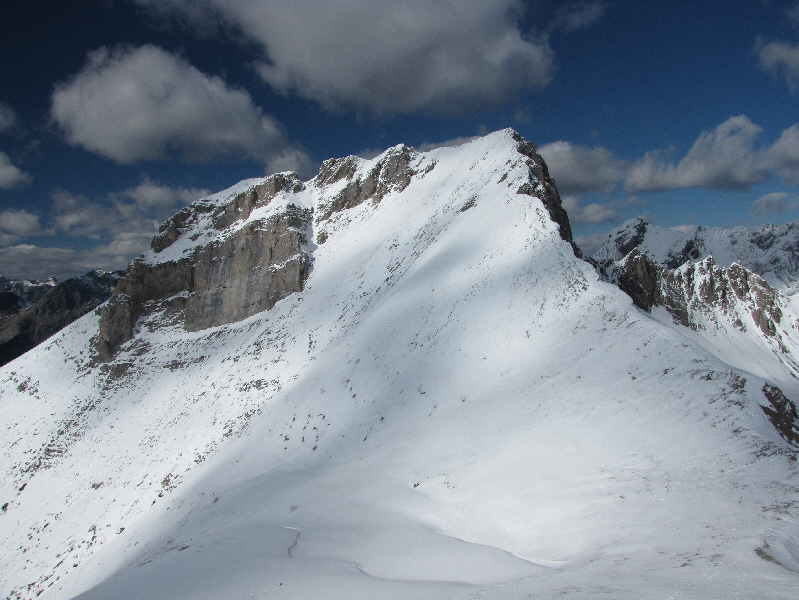
Here is a more comprehensive view of Mount Smut's south ridge. |
|
|
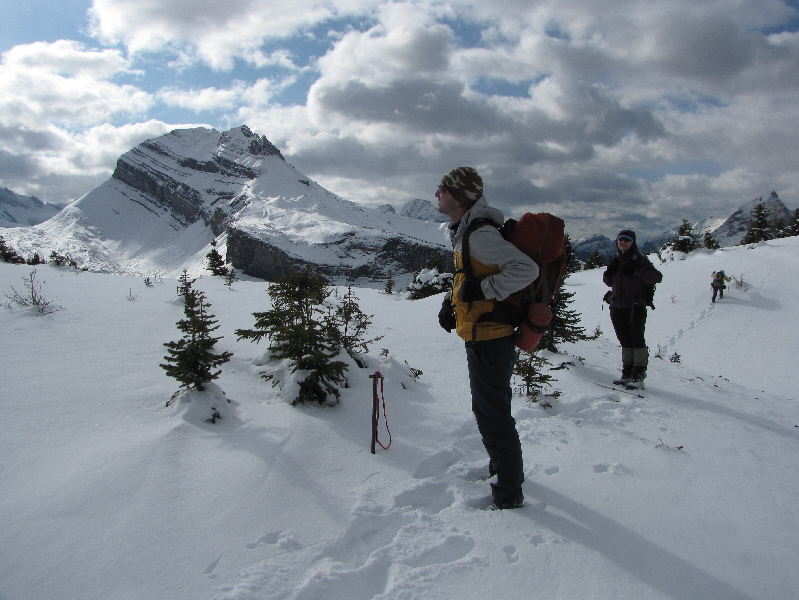
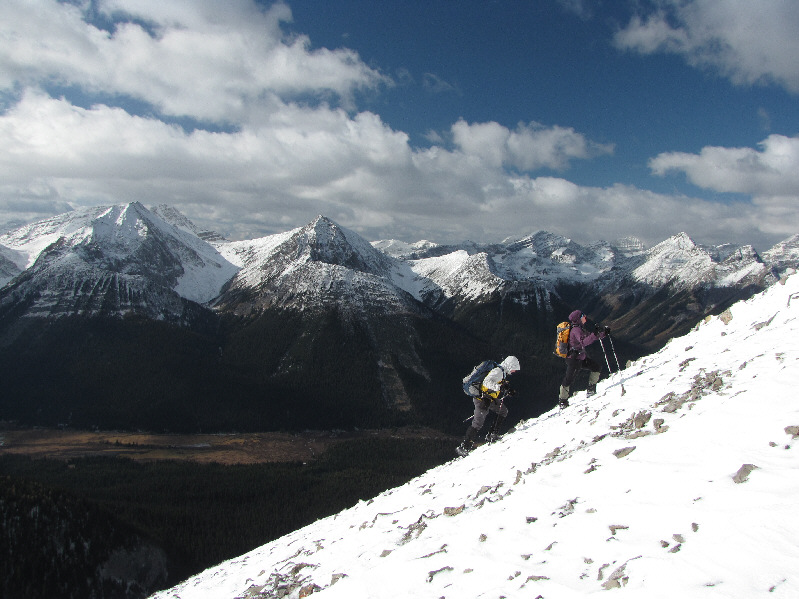
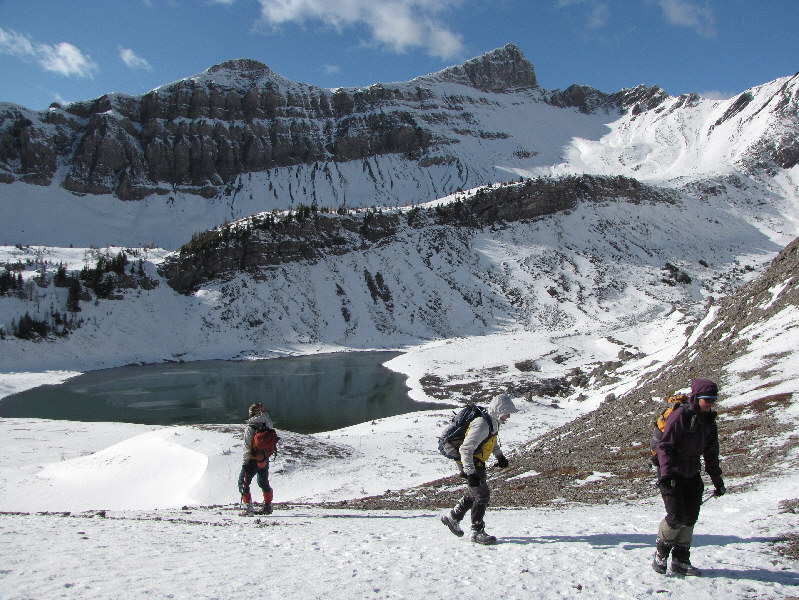
The group traverses across snowy slopes from Smuts Pass (left). |
|
|
Mount Smuts towers over Lower Birdwood Lake. |
|
|
While Bob forges ahead through the snow, Raff and Dinah pause to admire the views of Snow Peak (left) from the high col between Mount Birdwood and Smutwood Peak. |
|
|
The upper part of Mount Smuts is plastered with snow. |
|
|
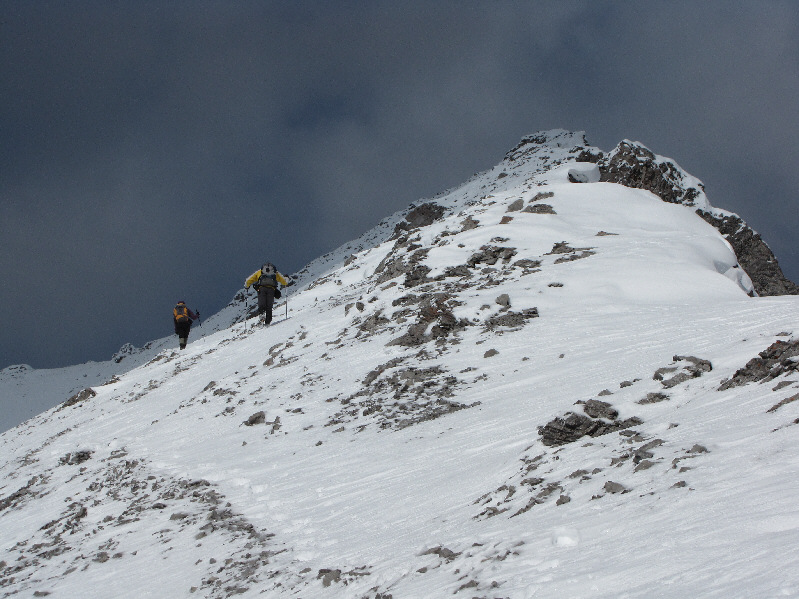
Dinah climbs up the ridge with Mount Birdwood in the background. |
|
|
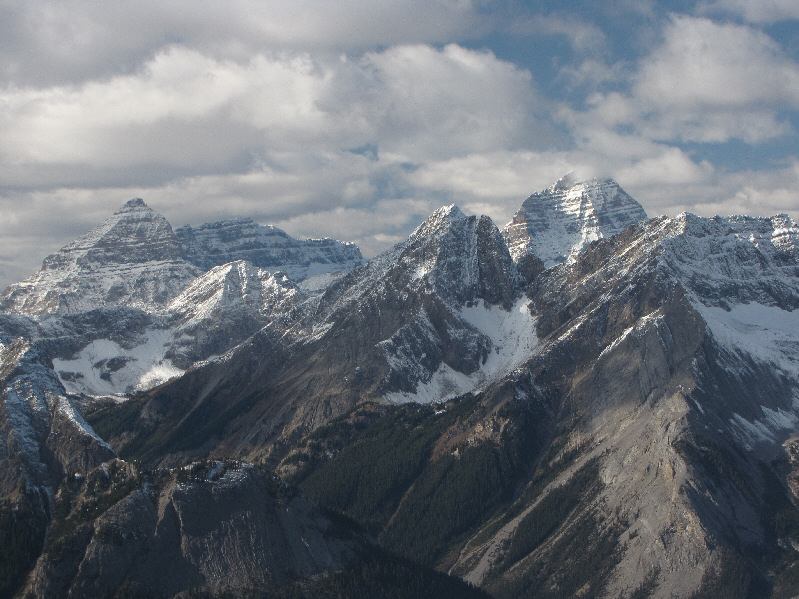
Raff, Dinah and Bob admire the views across the Spray River valley of (L to R) Mount Leval, Mount Vavasour and Mount Warre. |
|
|
Dinah and Bob continue up the ridge. |
|
|
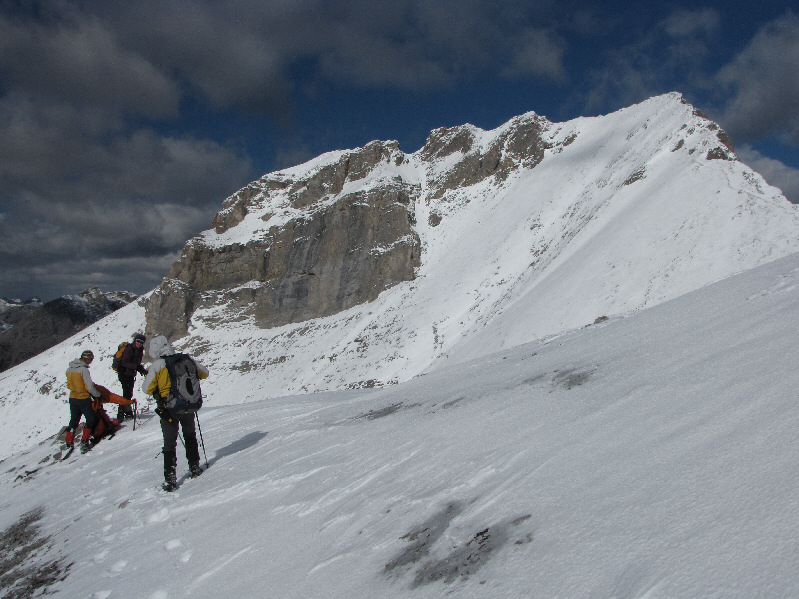
The false summit looks higher than the true summit in this photograph. |
|
|
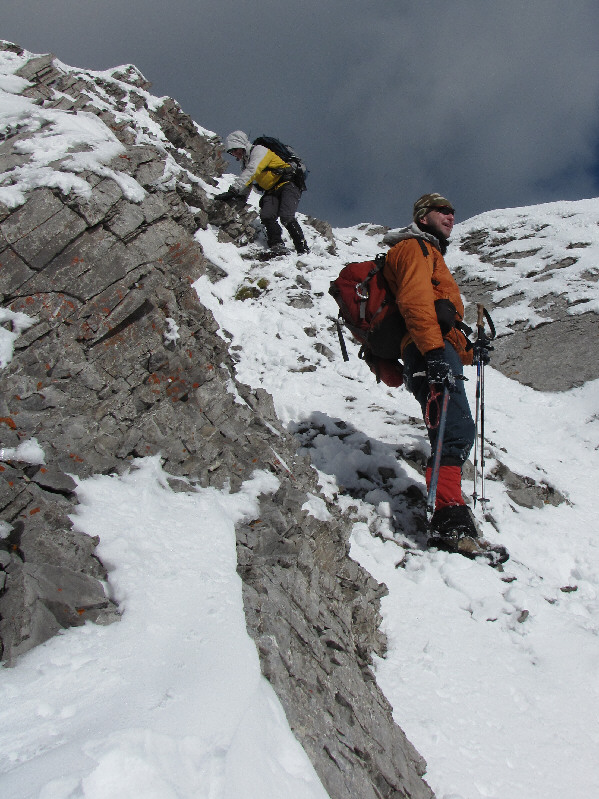
The ridge becomes more challenging as the group climbs higher. |
|
|
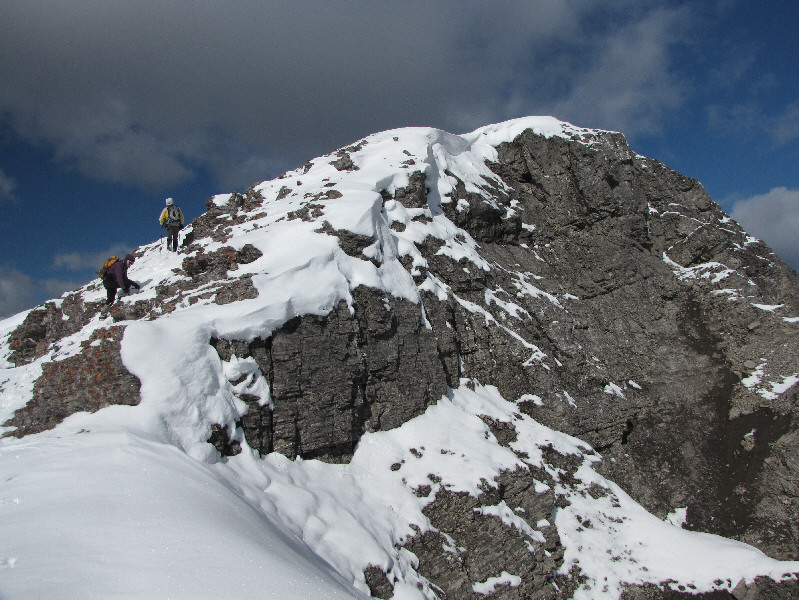
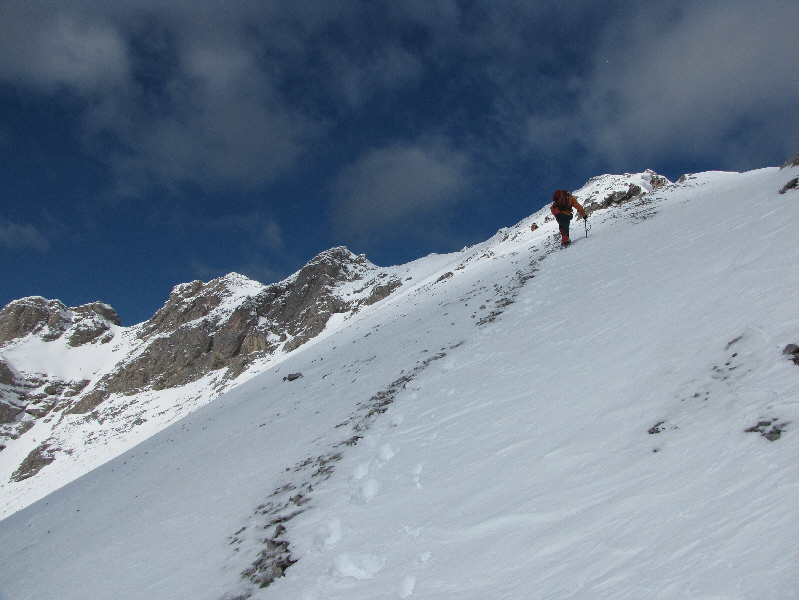
Bob scrambles up a short cliff band. |
|
|
Bob and Dinah slog up a snow-covered rubble slope. |
|
|
These rock bands guarding the false summit are a bit too steep and slippery to surmount on this day. |
|
|
The group reaches the shoulder of the false summit. Ahead is the true summit of Smutwood Peak. |
|
|
Dinah stands at the col between the false and true summits. Behind her is the west face of Mount Smuts. |
|
|
Mount Birdwood towers above Lower Birdwood Lake in this view from the col. |
|
|
Here is a closer look at the northwest ridge of Mount Birdwood. |
|
|
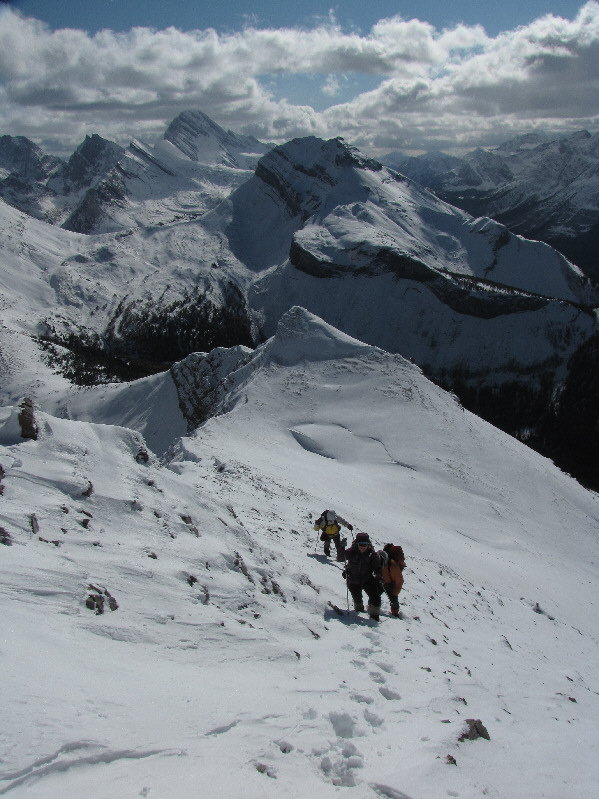
Dinah and Bob follow a partially buried trail up the final ridge. |
|
|
Raff also follows the trail up the ridge. |
|
|
Raff looks back down the final ridge. Upper Birdwood Lake is visible. |
|
|
The group climbs up the last few steps before the true summit. Successively behind them are the false summit, Snow Peak and Mount Sir Douglas. |

Raff, Bob and Dinah stand on the 2696-metre summit of Smutwood Peak.
 |
Sonny, Dinah, Bob and Raff pose together on the summit. |
 |
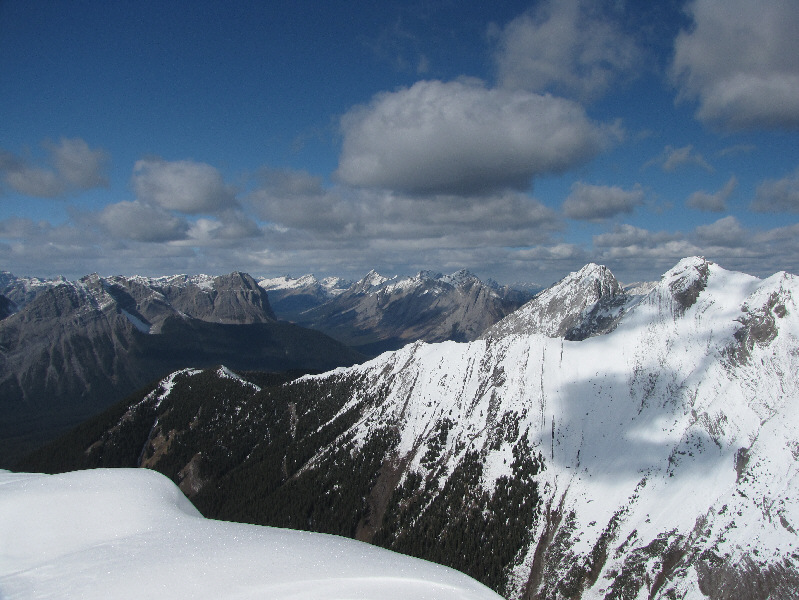
The summit provides a good overview of Smuts Pass and the Birdwood Lakes. |
 |
Mount Sir Douglas and Snow Peak command all the attention to the south. |
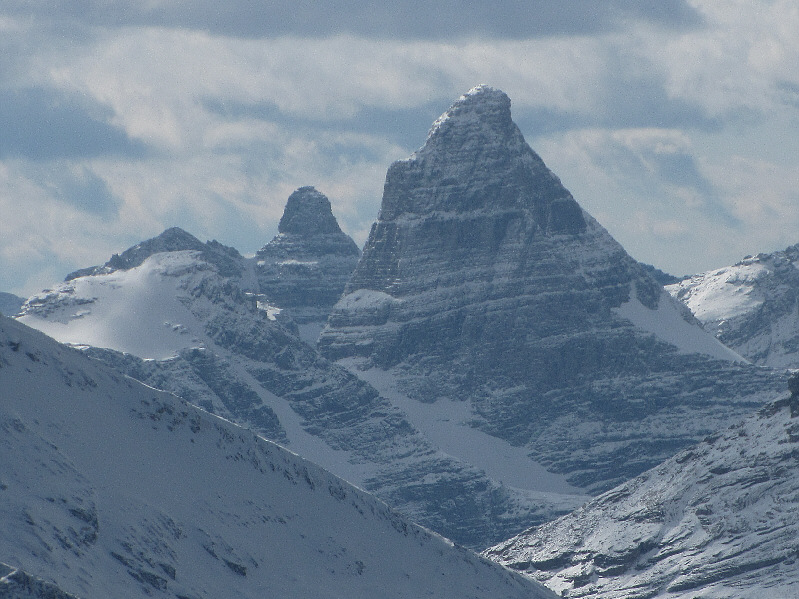 |
The striking peak to the southwest is known as Sharkfin Peak (also Talon Peak). |
 |
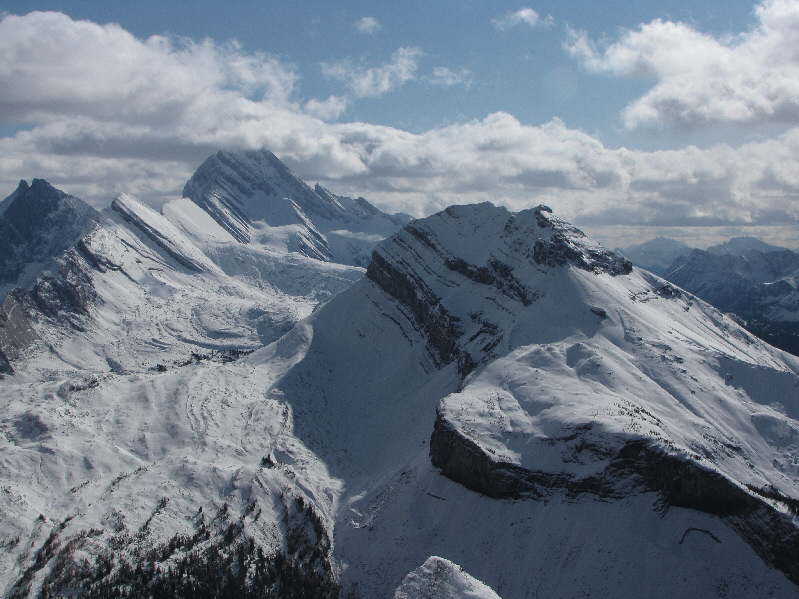
Prominent landmarks to the northwest include Mount Morrison (far left), Mount Turner (left) and Mount Shark (second peak from right). |
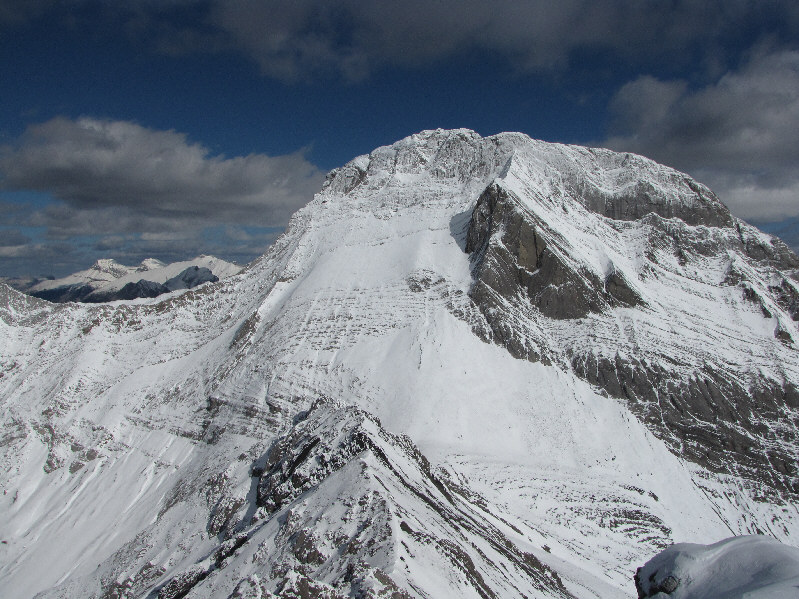 |
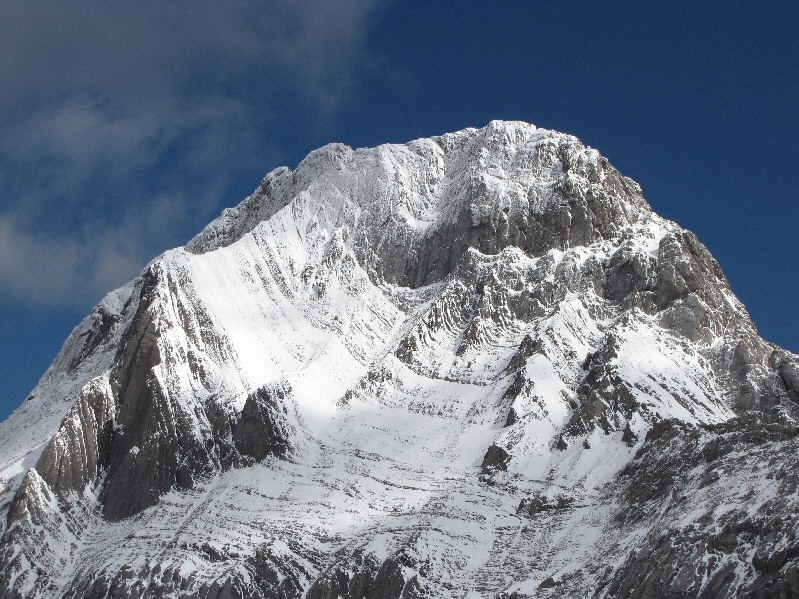
Mount Smuts dominates the view to the east. |
With all the snow, Mount Smuts resembles a Himalayan giant.
 |
Bob descends the ridge. |
 |
While Bob negotiates one of the trickiest parts of the ridge, Raff seems to be enjoying himself immensely. |

The group returns to the col between the true and false summits.
 |
Sonny kneels on top of the false summit with the true summit behind him. |
 |
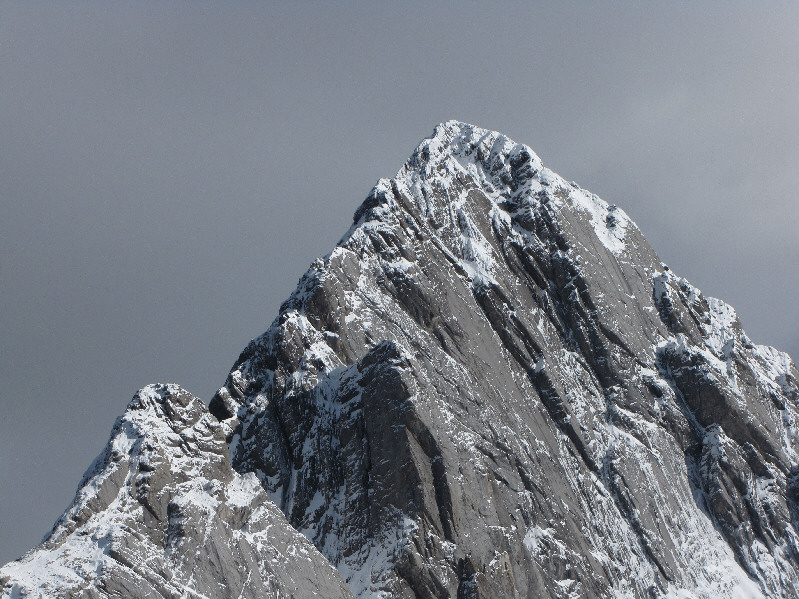
Here is a more complete view of the true summit of Smutwood Peak. |
 |
Besides Leman Lake, Mount Leman (centre) and peaks of the Royal Group are visible to the south. |
 |
Eon Mountain (far left), Aye Mountain (left in clouds), and Mount Assiniboine (right) make an appearance to the west. |

The afternoon sunshine lights up the west face of Mount Birdwood.
 |
The northwest ridge of Mount Birdwood looks very uninviting. |
 |
Here is a closer look at Mount Sir Douglas. |
 |
The group returns to Smuts Pass. |
 |
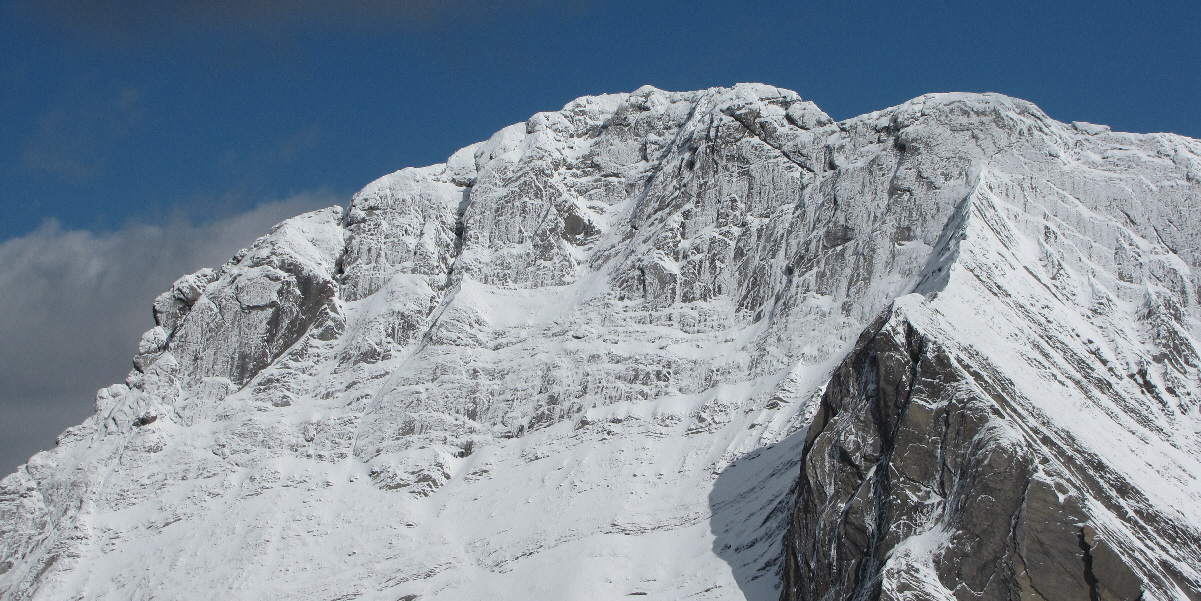
The access route for Mount Smuts looks just as scary in the afternoon sun. |
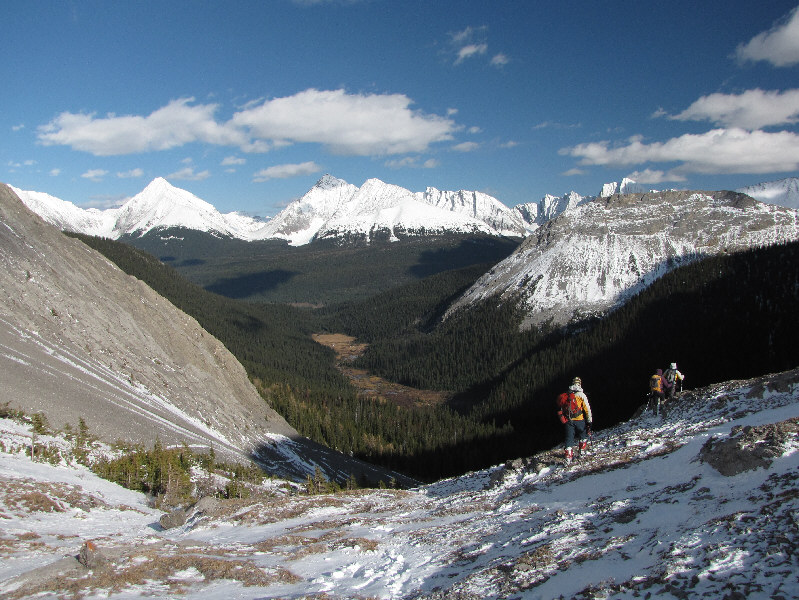 |
The group prepares to descend to Commonwealth Creek valley. Visible in this photo are the Tower (left), Mount Galatea (left of centre), Pig's Back (right), and Mount Chester (peeking--no pun intended--over the top of Pig's Back). |
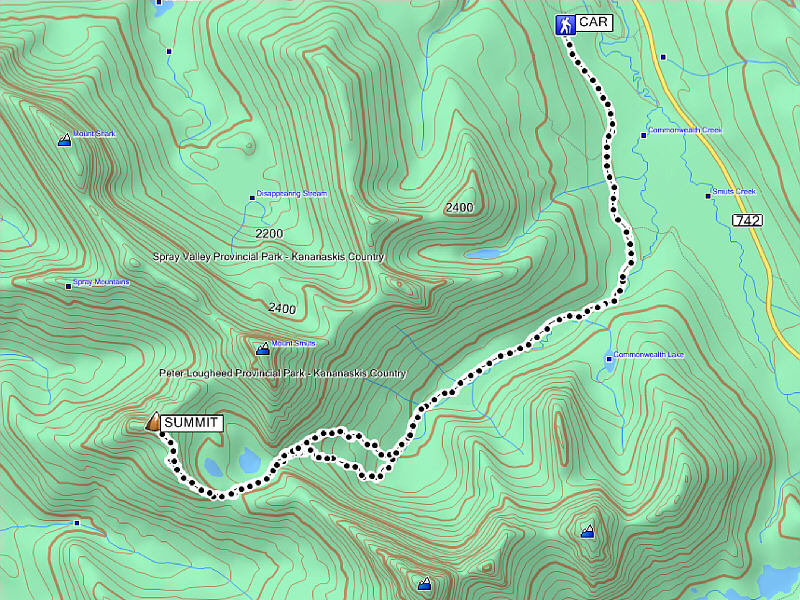 |
Total Distance: 17.1 kilometres Round-Trip Time: 8 hours 43 minutes Net Elevation Gain: 824 metres |