


After a long plod through much rubble, I followed some footprints up a steep snow slope and eventually reached the base of the crux. Although numerous possibilities (unfortunately all difficult) exist for surmounting the crux, I chose to ascend a crack that was flagged at the bottom. Thankfully, both the crack and the subsequent south ridge were dry on this day, and I had no further problems in reaching the summit at 7:43 PM. Returning to the crux from the summit, I descended the same crack I had come up. At one point, I felt one of my handholds move slightly, but I quickly grabbed a more reliable piece of rock and was soon safely off the crux. The rest of my descent was highlighted by a great glissade down the aforementioned snow slope and by a horrible bushwhack down the avalanche slope just south of the correct "obvious watercourse" (just plain bad route selection on my part). I felt a measure of relief when I stumbled back onto Wapta Highline Trail. Another long walk had me back at my car by 10:49 PM.
|
|
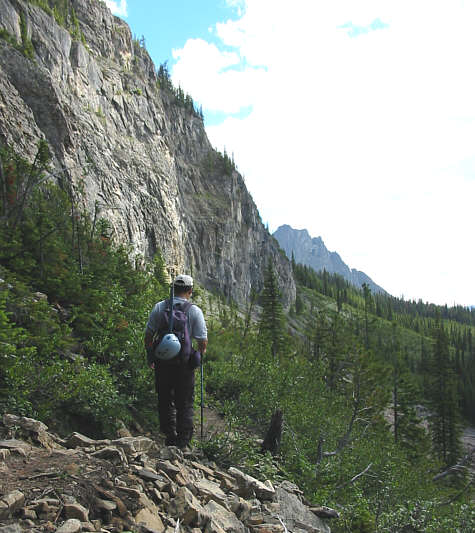
Sonny hikes along Wapta Highline Trail. Mount Burgess is barely visible in the distance. |
|
|
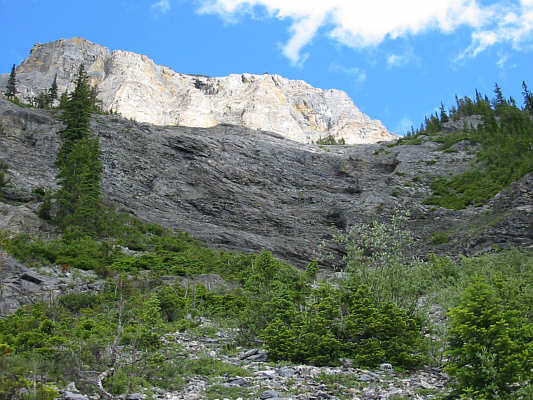
This is Mount Carnarvon as seen from Wapta Highline Trail. |
|
|
This is what Sonny thought was the "obvious watercourse". It is not necessarily a bad place to ascend, but the correct route is further to the right. |
|
|
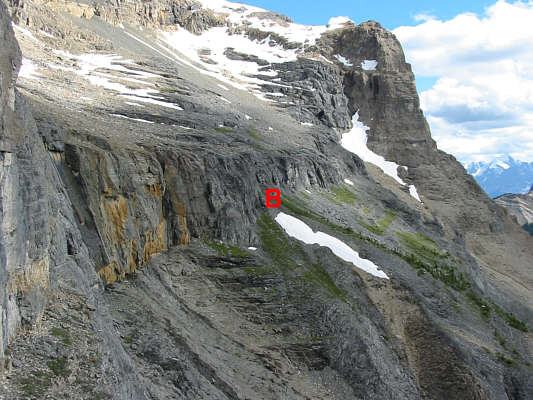
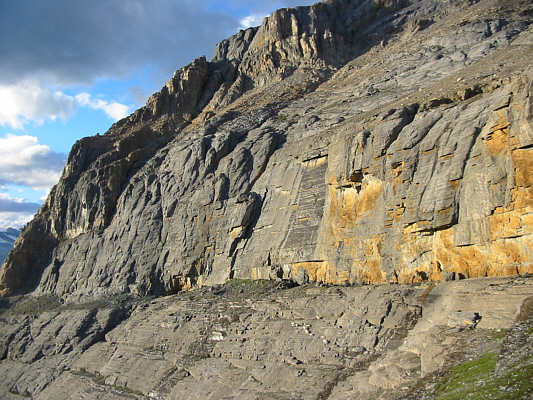
This is the view of the "first rock band" from where Sonny 'cliffed out'. The correct route through the rock band is indicated by the letter B. Sonny would eventually traverse the ledge below the yellow cliffs. |
|
|
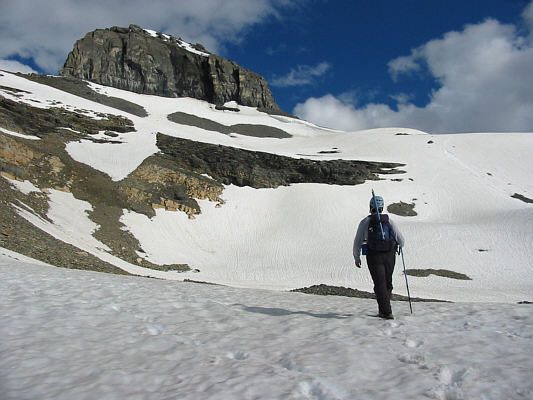
The summit block is in sight as Sonny approaches a steep snow slope. |
|
|
Sonny scrambles up the crux. Note the flagging. |
|
|
The south ridge is airy and exciting. |
|
|
Sonny holds up the register at the 2778-metre summit of Wapta Mountain. |
|
|
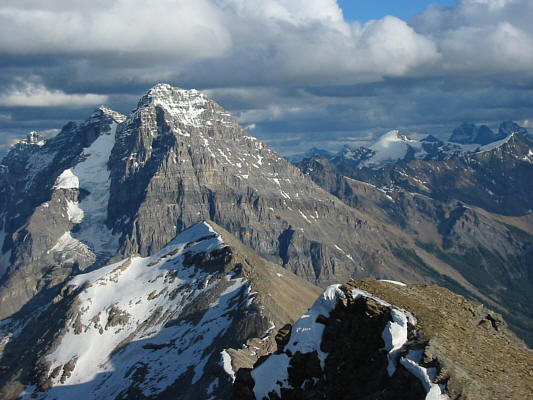
Mount Stephen dominates the view to the south. Also visible are Mount Field (lower left) and Goodsir Towers (far right on horizon). |
|
|
Here is another look at the crux from below. Letter C marks the crack that Sonny climbed. |
|
|
This is another look at the ledge that Sonny had to traverse during his ascent to get back on route. |
|
|
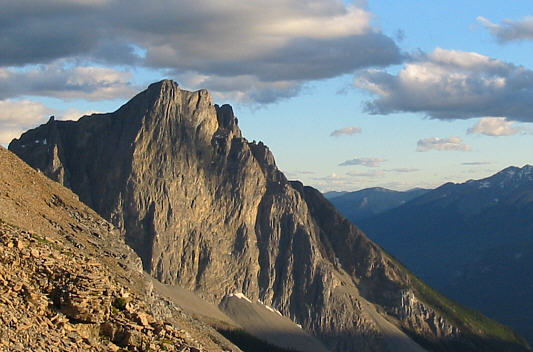
Mount Burgess looks dramatic in the late day sun. |